Configure Project Management integration for Delivery
Configuration
Connect your project management tool under the PM Integration tab in the project configuration. Delivery uses this data for lead times and related analyses.
All configuration is done under the PM Data Integration tab in your CodeScene project:
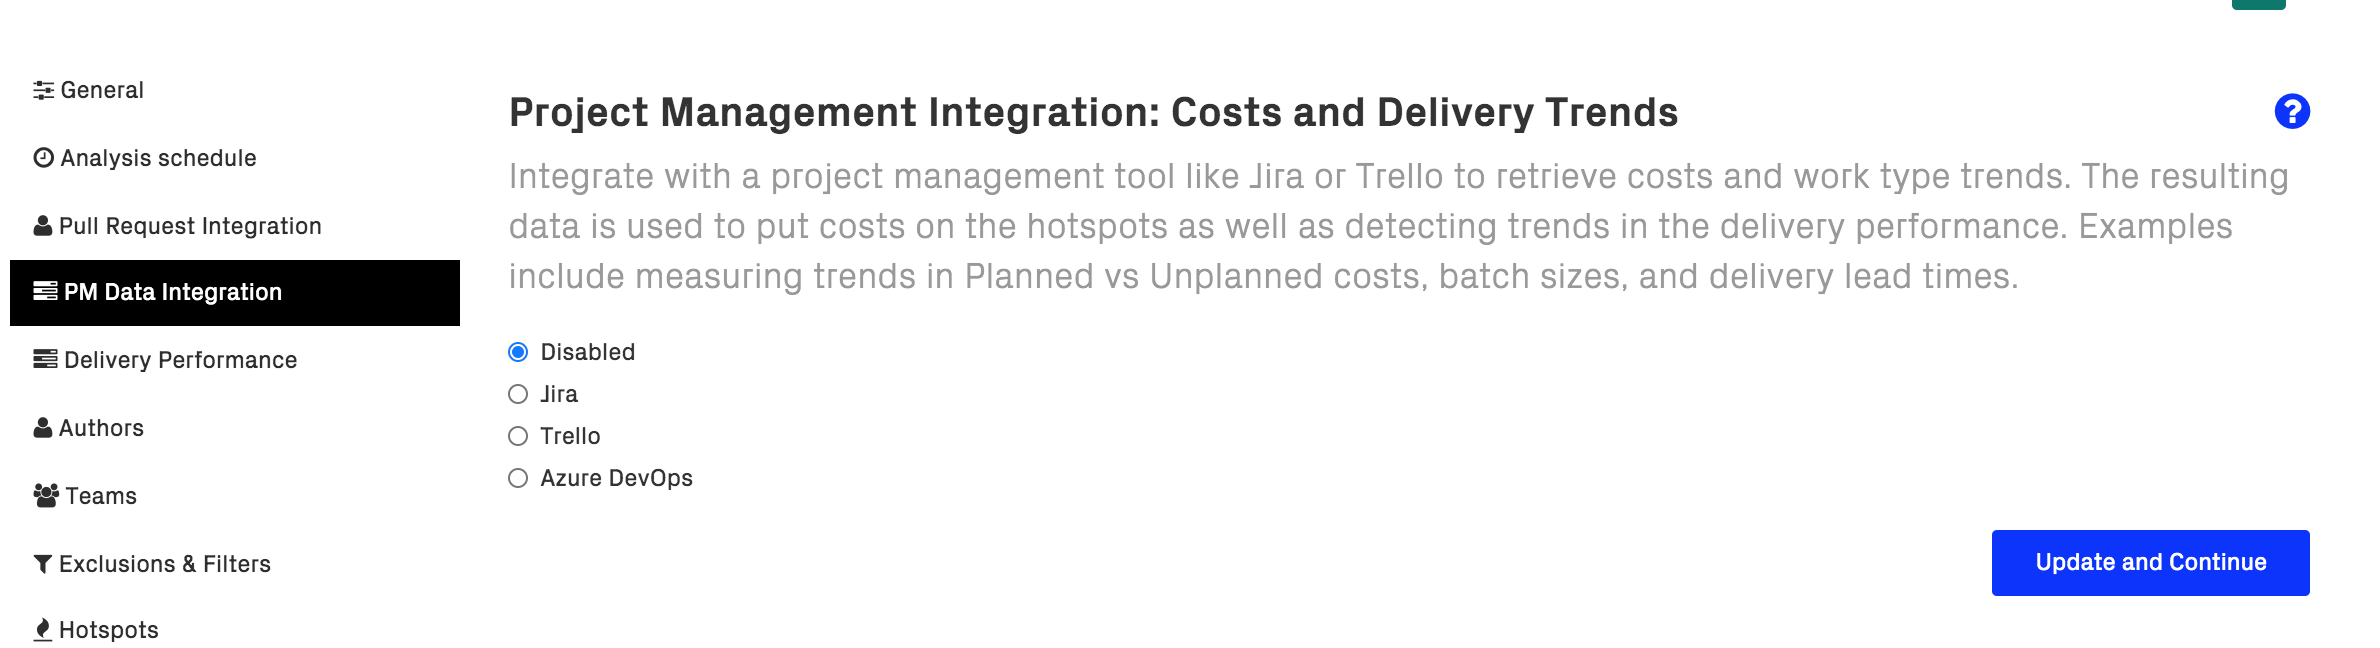
Fig. 153 Select the data source you want to integrate with.
Connect CodeScene to Jira
Jira is enabled and configured per project. Navigate to the “PM Integration” tab in your project’s configuration and select “Jira”:
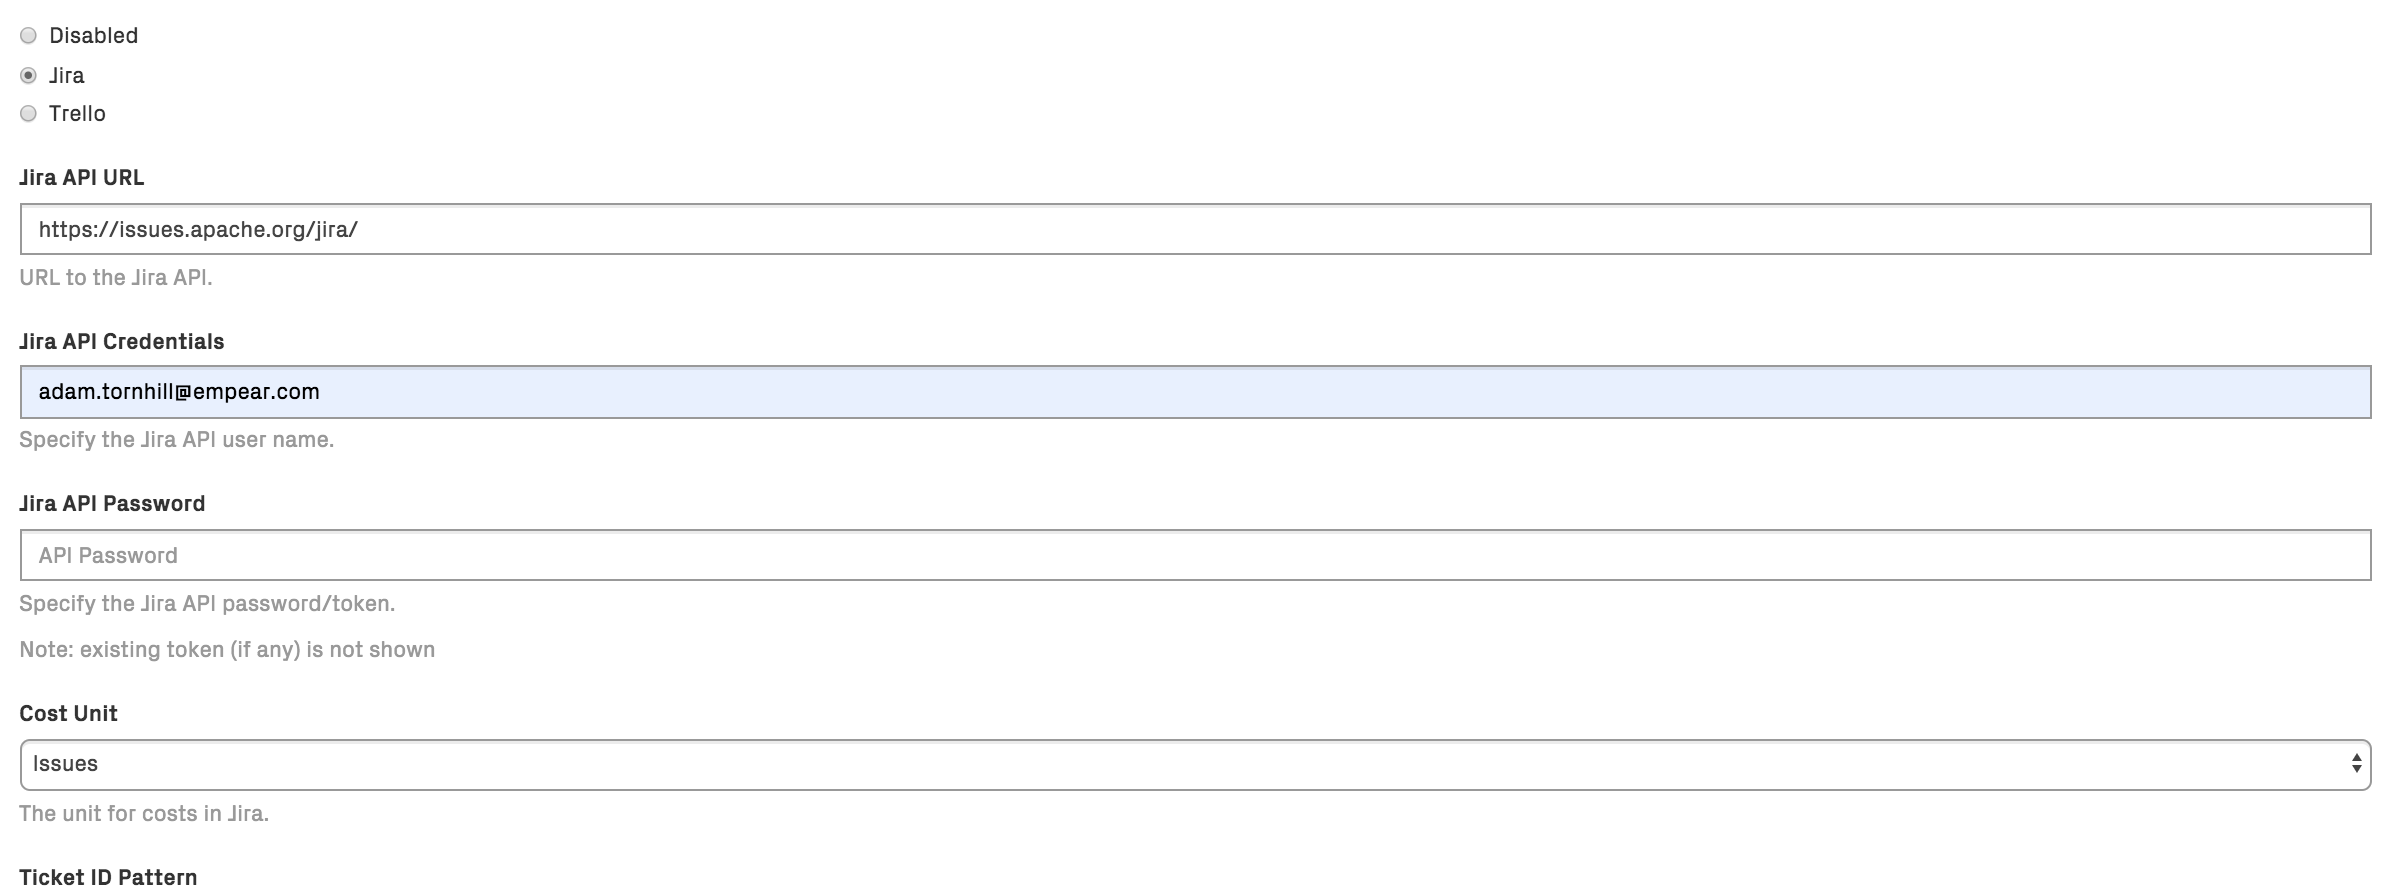
Fig. 154 Start by selecting “Jira”
Fill in your Jira credentials here. We recommend using a Jira API token as the password.
Once you press “Save and Continue”, you are presented with the detailed configuration options. See further below in this document for a detailed walkthrough of the configuration options.
Connect CodeScene to GitLab Issues
GitLab issues is only available if the account itself is a GitLab account.
GitLab Issues are enabled and configured per project. Navigate to the “PM Integration” tab in your project’s configuration and select “GitLab Issues”.
Once you press “Save and Continue”, you are presented with the detailed configuration options, as specified in the next section.
Connect CodeScene to Azure DevOps
Azure DevOps is enabled and configured per project. Navigate to the “PM Integration” tab in your project’s configuration and select “Azure DevOps”:
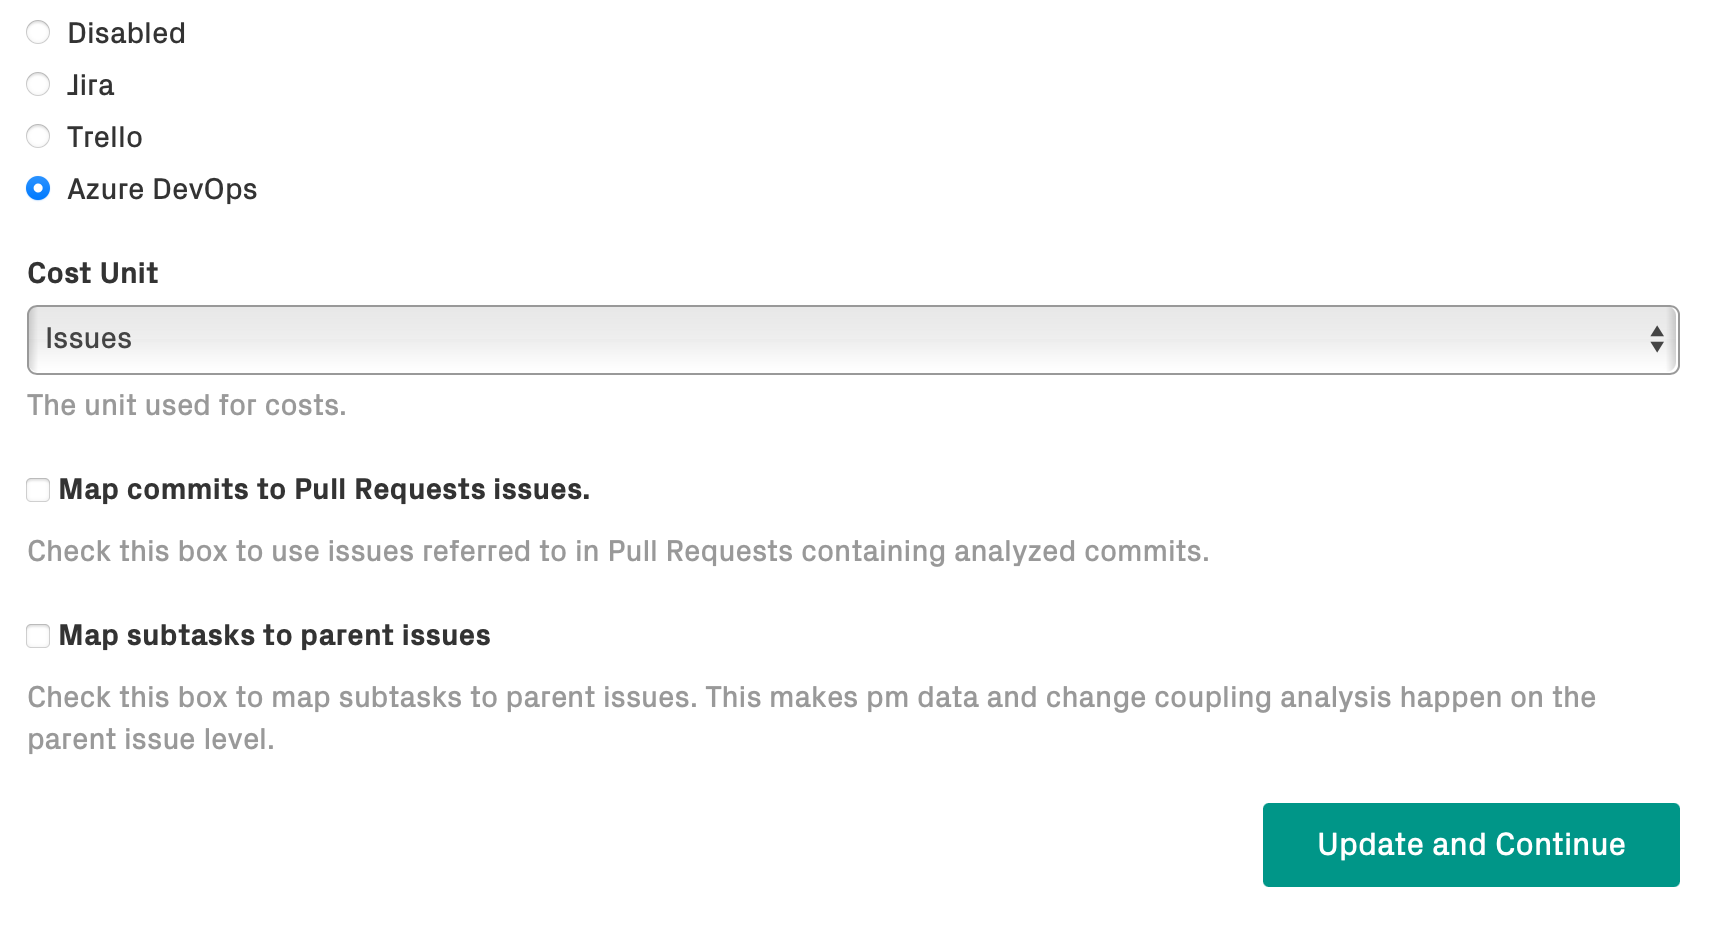
Fig. 155 Start by selecting “Azure DevOps”.
Integration uses Work Items in the project’s Azure account.
Once you press “Save and Continue”, you are presented with the detailed configuration options, as specified below.
Connect CodeScene to YouTrack
YouTrack is enabled and configured per project. Navigate to the “PM Integration” tab in your project’s configuration and select “YouTrack”.
You need an permanent token from YouTrack. See Creating a permanent token .
Once you press “Save and Continue”, you are presented with the detailed configuration options, as specified in the next section.
Connect CodeScene to ClickUp
Clickup is enabled and configured per project. Navigate to the “PM Integration” tab in your project’s configuration and select “ClickUp”.
You need an API token from ClickUp. See Generate or regenerate a Personal API Token .
Once you press “Save and Continue”, you are presented with the detailed configuration options, as specified in the next section.
Note the following regarding the ClickUp integration:
ClickUp spaces are used as “external projects” that you add in the config
The ClickUp task type will be used as “work type” for tasks
The “Map to parent” option will map referred subtasks to their immediate parent only (if any)
Specify the Detailed Configuration Options
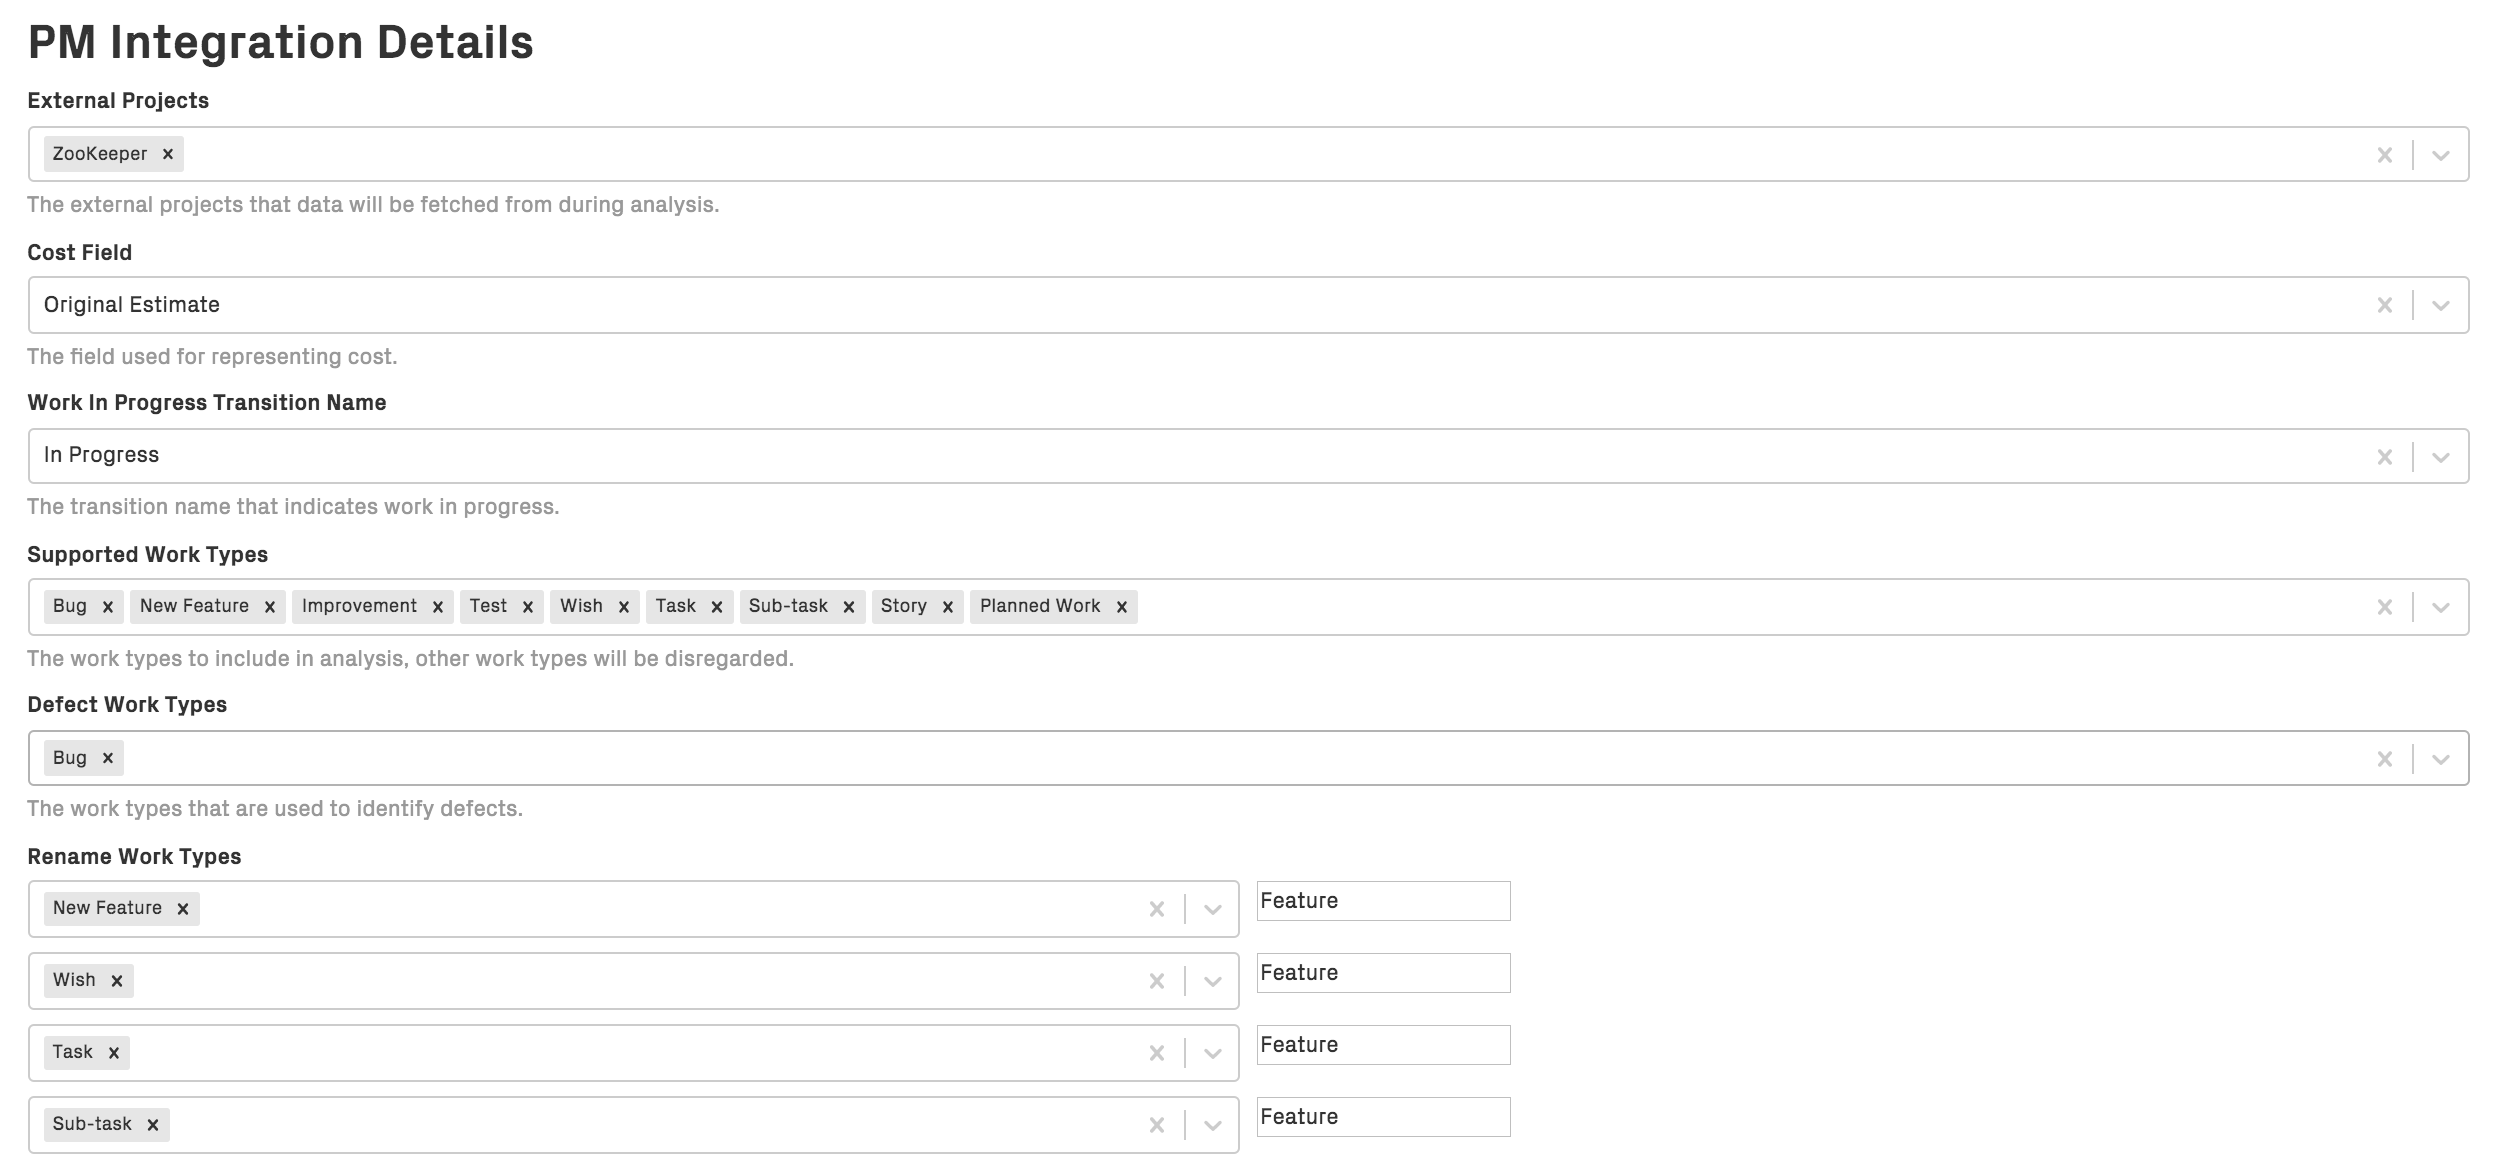
Fig. 156 Configure the information you want to retrieve from Jira.
External Projects: Select one or more Jira projects that CodeScene will use as data sources.
Work In Progress Transition Name: Specify the name of the Jira status that indicates that the development work has started. Often, this is the “In Progress” or “In Development” state.
The Work In Progress Transition Name is relevant for two analyses: 1. If you use Estimated development time as cost model, then this field is mandatory. 2. Delivery Performance: if you have enabled the delivery performance module, then this config option is needed to calculate lead times.
Supported Work Types should correspond to the different kinds of issue labels defined in your Jira project.
Defect Work Types: specify the JIRA labels or JIRA Issue Types that will be regarded as defects. This configuration is used to calculate defect densities and work type trends.
The Rename Work Types field allows the work types to be mapped to different analytical categories that you can define yourself. How you do this depends on the type of analysis you wish to perform.
Tip: Rename Work Types to distinguish Planned and Unplanned work
When looking at cost trends, the most interesting distinction is typically between Planned- versus Unplanned Work.
By specifying Rename Work Types option, the Jira labels are translated to the specified label before being sent to CodeScene. For example, if your Jira project contains Feature and Documentation labels, like in the illustration above, these can be categorized together as Planned Work, while Bug and Defect are treated as Unplanned Work; the Refactoring label – which doesn’t have a translation – will be sent as is. Mapping labels this way can allow you to see more meaningful trends. You are free to map labels however you like depending on your analytical needs.
Advanced Information
Measures to reduce bias in the trends
Let’s face it: Project management data can be noisy. CodeScene reduces as much of this noise as possible via its data cleaning:
Cycle time in development: improve the precision by identifying issues that have a transition to “In progress” _after_ the last commit related to that issue. CodeScene then fall back on using the date of the first commit as starting point to recover part of the cycle time.