Getting Started
Welcome to CodeScene - we’re happy to have you here! This guide will help you get started. Before we go there, let’s have a look at what CodeScene does for you.
The history of your code predicts its future
CodeScene is a tool that your software project improve their efficiency by identifying and prioritizing technical debt. We take a different approach to software analysis since we base the results on behavioral and social data.
Our main data source is version-control repositories, which CodeScene views as a behavioral log of how the developers interact with the codebase. This means we can prioritize based on how the system grows and also include a social dimension of code that lets our customers discover team productivity bottlenecks and save on- and off-boarding costs.
Log in with GitHub, Bitbucket, Azure DevOps or GitLab
To analyze your code you need to connect CodeScene with your source code hosted on GitHub, Bitbucket, Azure, or GitLab.
If you don’t have a GitHub, Bitbucket, Azure DevOps or GitLab account we recommend that you check-out our on-premises version of CodeScene .
Log in with GitHub
CodeScene offers two ways to sign in with GitHub. Both options are available wherever you can log in — on the main login page and in the top-bar login dialog:
GitHub App login (recommended) — shown as Continue with GitHub App on the login page, and Log in with Github App in the top-bar login dialog.
GitHub OAuth login (alternative) — shown as Continue with GitHub on the login page, and Log in with Github in the top-bar login dialog.
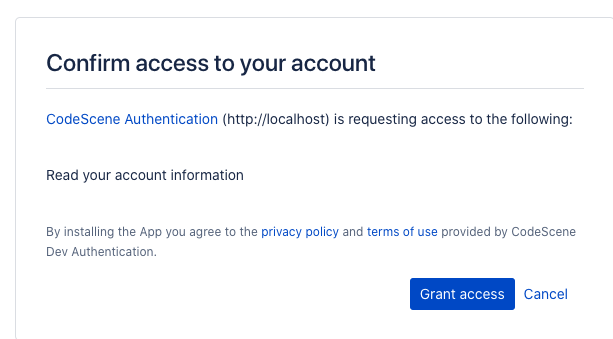
We recommend the GitHub App login for everyone. Before you can sign in this way, an organization admin must install the CodeScene Access GitHub App from https://github.com/apps/codescene-access/installations/new and grant it access to the repositories CodeScene should see. After login, only organizations and repositories covered by an installation will be visible — see GitHub for details.
If you can’t install a GitHub App — for example you aren’t an organization admin, you’re on a trial, or you just want to evaluate CodeScene with an individual account — use the GitHub OAuth login instead. It gives you immediate access to all organizations and repositories that your GitHub account can see, without any additional setup.
After choosing one of the GitHub login buttons you’ll be redirected to GitHub for authentication and authorization. Type your GitHub credentials as shown in Fig. 1.
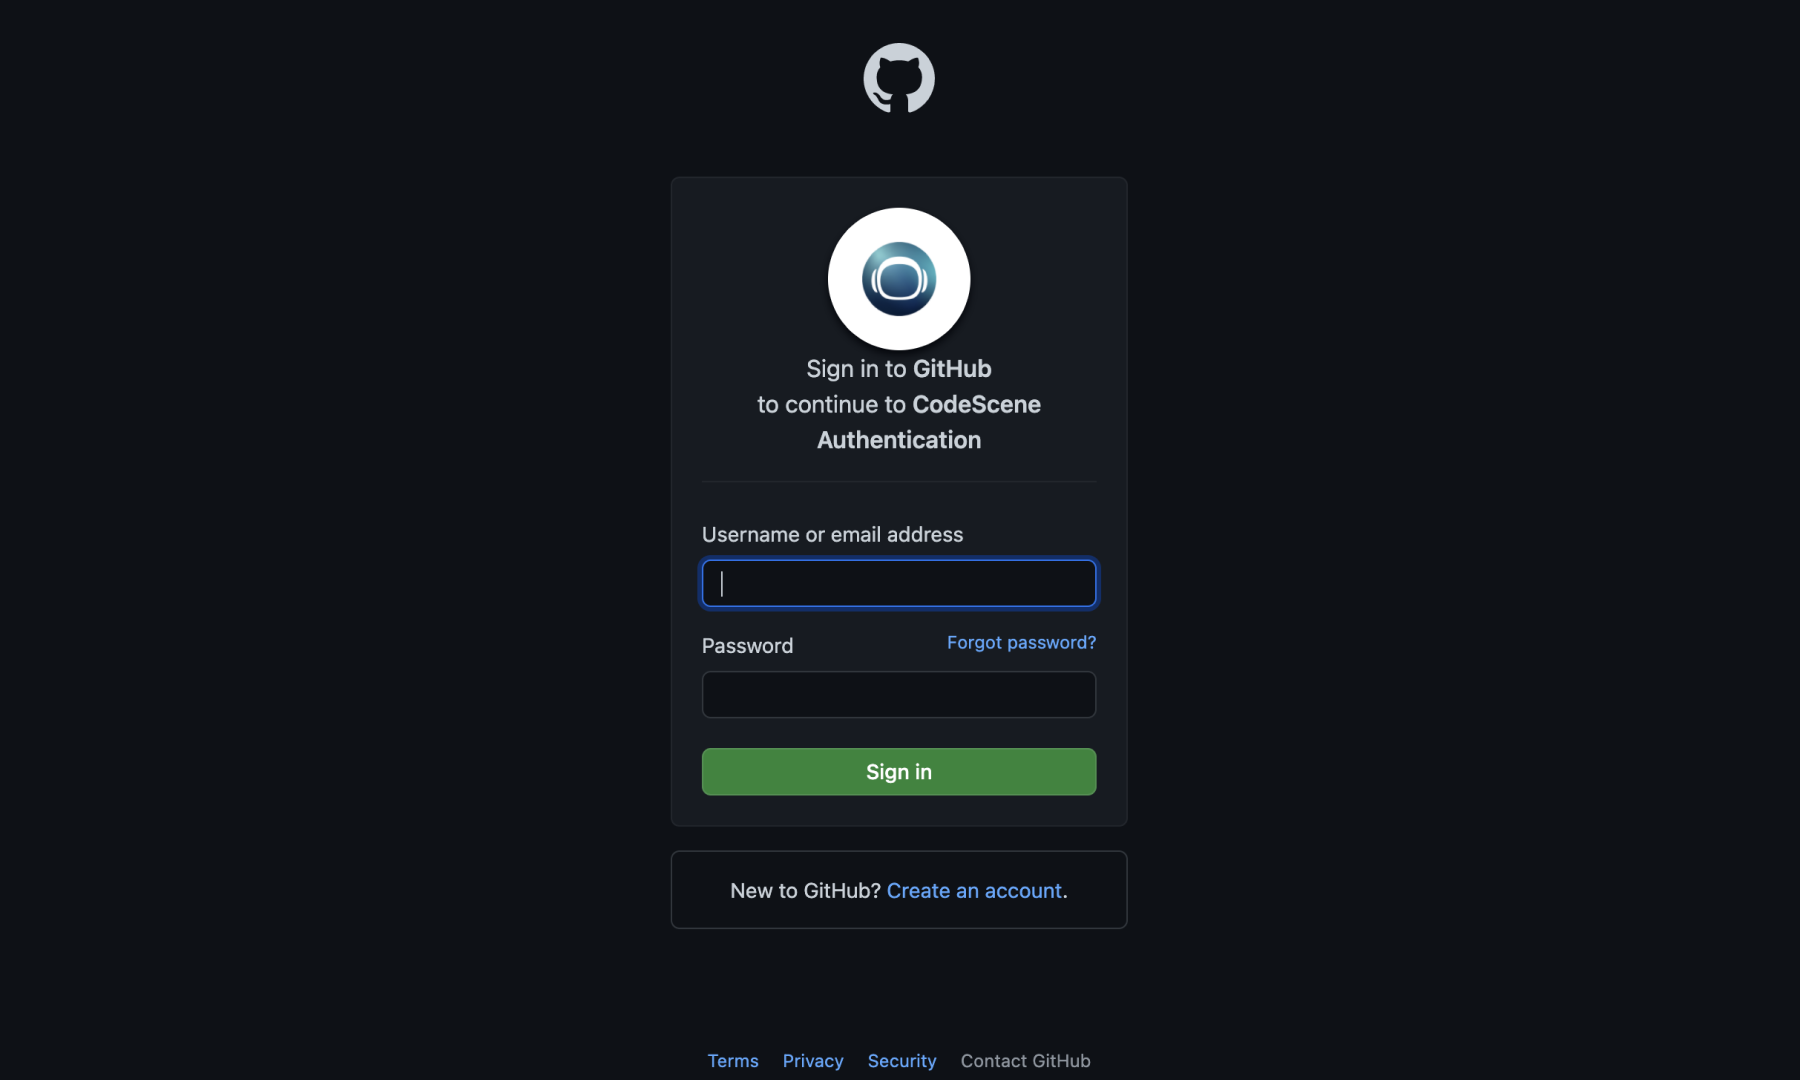
Fig. 1 Sign in using your GitHub credentials.
With the GitHub OAuth login, CodeScene is forced to request read and write access because of how the GitHub API works. We do, however, never write any data to your Git repositories, and we never will. With the GitHub App login, CodeScene only requests fine-grained, installation-scoped permissions — see GitHub for the full list.
Organizational accounts can also opt in to performing all account-wide GitHub actions through the CodeScene Access App’s installation token — see Use GitHub App Installation Tokens (organization setting).
Log in with Bitbucket
Click Log in with Bitbucket on the front page. You’ll be redirected to the Bitbucket’s consent page:
Log in with Azure
Click Log in with Azure on the front page. You’ll be redirected to the Azure’s consent page:
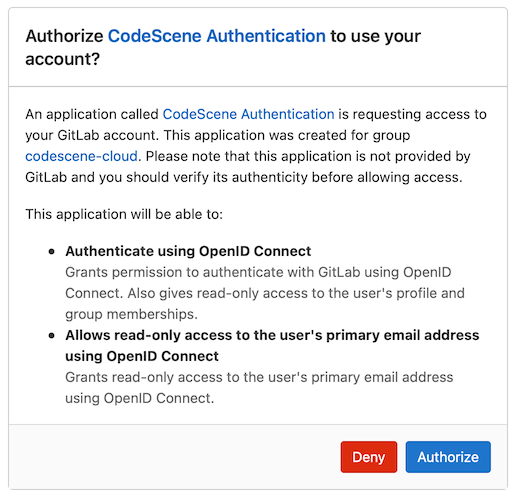
Log in with GitLab
Click Log in with GitLab on the front page. You’ll be redirected to the GitLab’s consent page:
How do Organizational Accounts compare to Individual Accounts?
CodeScene supports both Individual and Organizational Accounts. An Individual Account is for personal use, while an Organizational Account is built for teams and businesses to manage and collaborate on their code across multiple projects.
Organizational Account [recommended option]
Organizational Account is geared toward teams, development organizations, or companies that need to collaborate and manage multiple users and projects at once.
It is intended for multiple users (this account is designed for larger teams or entire organizations, with roles and permissions for different users).
Perfect for companies or teams working on large projects who need detailed analytics and reporting for code health across various departments or teams. Based on these considerations, CodeScene advises moving forward with this option.
Setting Up Your CodeScene Organization
CodeScene allows the owner of your organization to create a CodeScene account connected to your git provider’s “group account”:
GitHub Organization
Bitbucket workspace
Azure DevOps Organization
GitLab Group (only top level Groups are considered an organization)
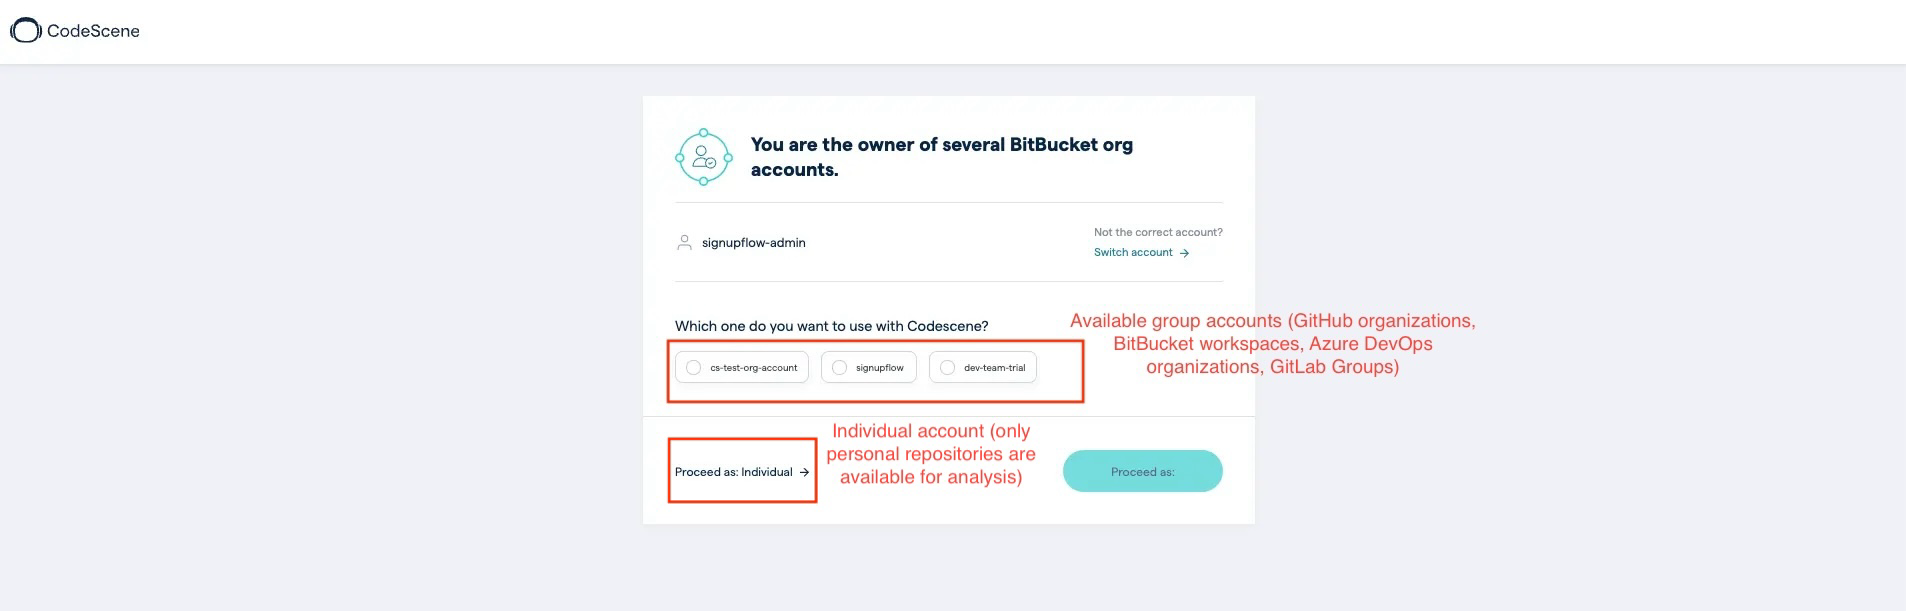
Fig. 2 Choose between an organizational or individual account to begin the account creation process in CodeScene
You will pay for only one CodeScene subscription. Other users can join your CodeScene org for free. In other words, any member of your provider organization can be invited by the account owner. Members don’t need to subscribe to paid CodeScene accounts to analyze private repositories owned by the organization. Organizational accounts let you share all analysis configurations and results with members of your organization.
Instruction on how to invite organization members can be found here.
Individual Account
Individual Account is good option for a single user (the individual who created the account). It is limited to personal use, without access to team-level collaboration or organizational tools.
This type of an account is ideal for freelancers, independent developers, or hobbyists who want to improve their code quality and understand code complexity on a personal level.
Limitations to the usage of Individual Account
The Individual Account has several limitations that should be considered:
It does not allow for the invitation of additional members to collaborate on projects.
Any projects or configurations created under an Individual Account cannot be transferred to an Organization account. This means that if you decide to upgrade to an Organization plan in the future, you would need to recreate or manually migrate any work done under the Individual plan.
These restrictions may impact the scalability and flexibility of your work as your team or project grows.
Note: When you create an Organizational Account on CodeScene, you’re also given an Individual Account because CodeScene’s platform is designed to associate individual users with organizations in order to manage access, permissions, and activity at both levels.
Creating an Organizational Account when an Individual Account is already created
If you have already created an Individual Account and wish to set up an Organizational Account, please refer to the instructions provided here.
Additional scopes required
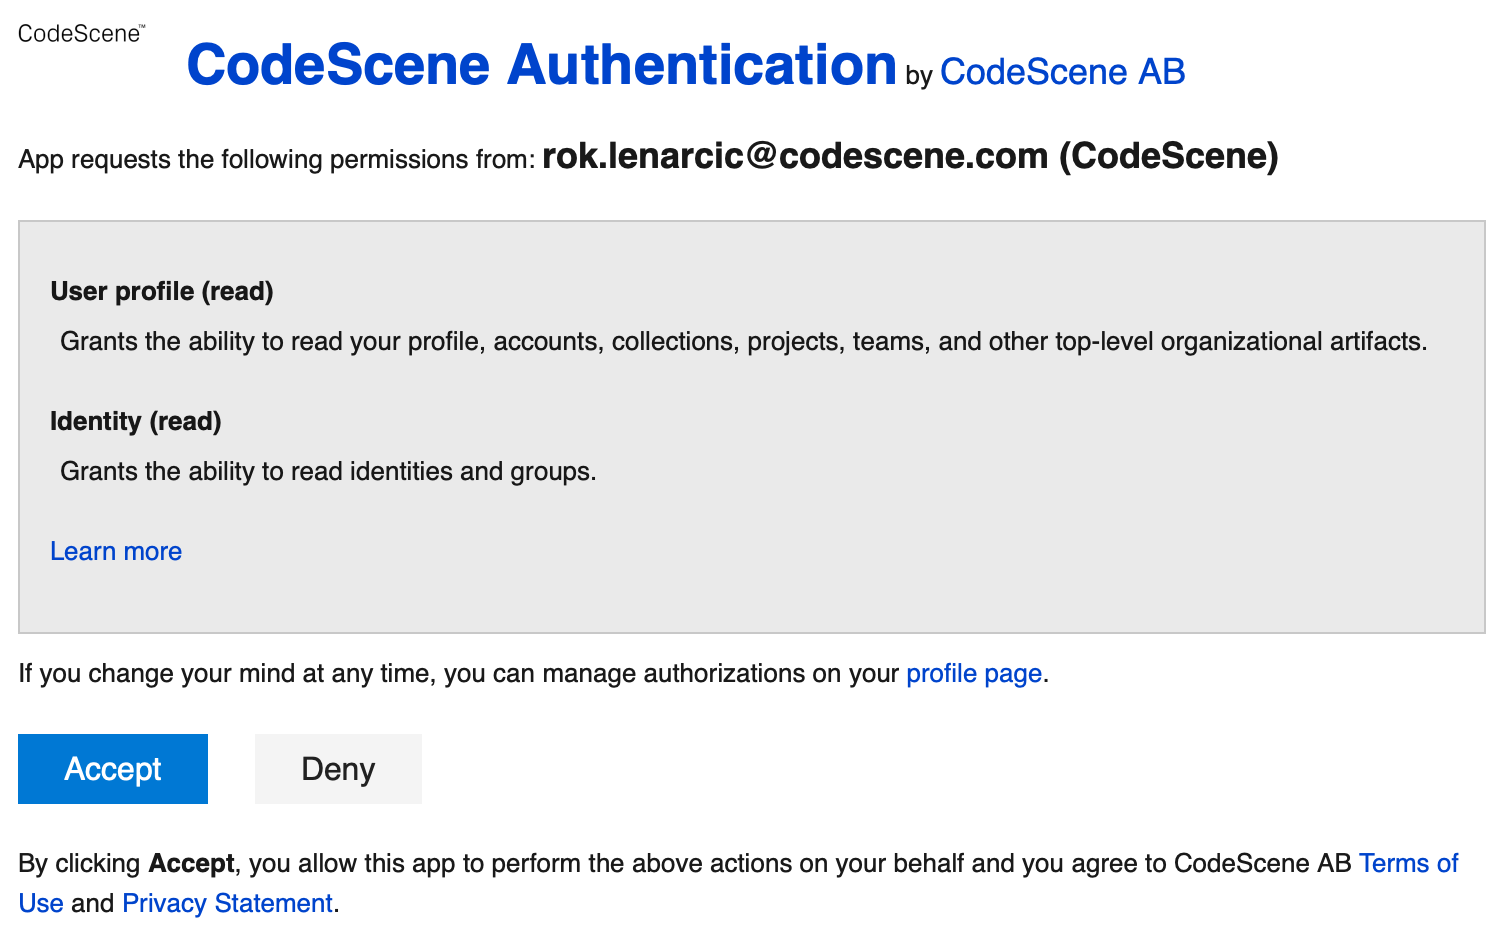
Users give CodeScene access to their provider’s (GitHub, etc..) identifying information such as username and email. For some users this is sufficient, because they only view analysis results.
If you want to create projects, run analysis, configure projects, and run Pull Request integration, we require more access, such as access to your repositories and pull requests.
See providers pages for explanation of why we require the particular level of access: GitHub, Bitbucket, Azure, GitLab.
Run your first analysis
After you log in, you’re ready to analyze your project.
Click Create New Project to configure an analysis project. You will be prompted to grant additional access to your provider. CodeScene fetches a list of all your repositories from GitHub (or other provider) and lets you specify the projects to analyse as shown in Fig. 3.
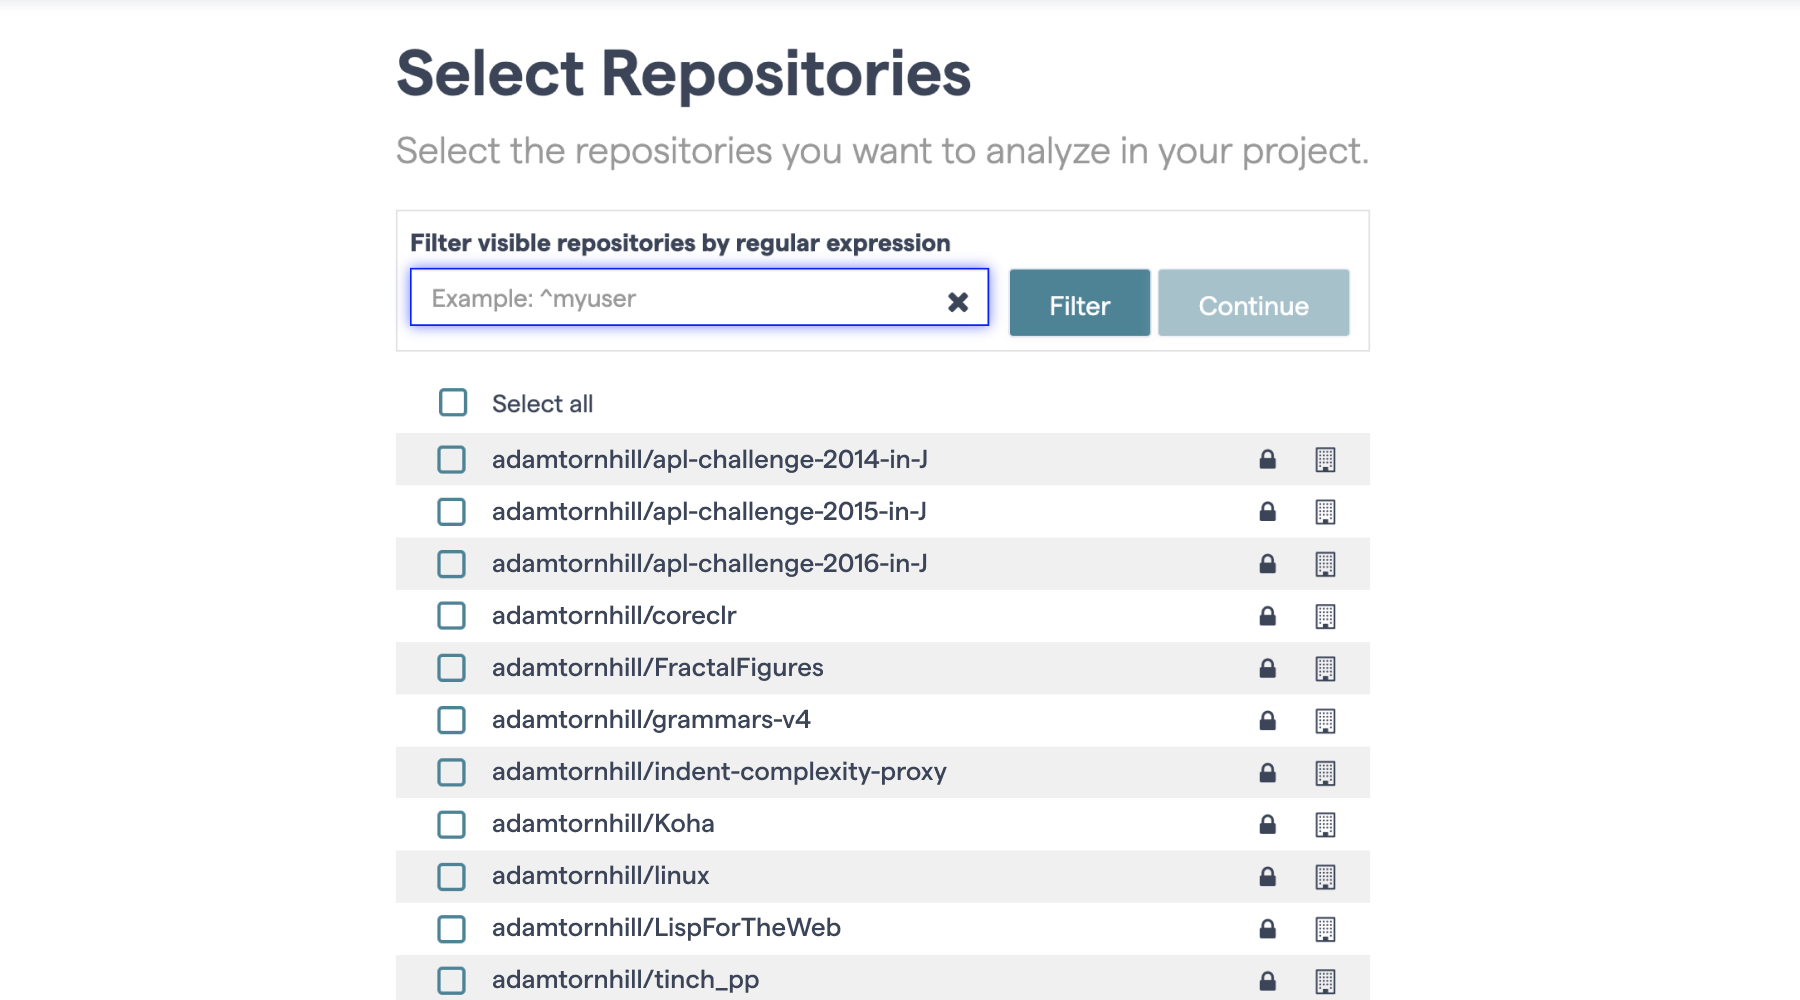
Fig. 3 Specify the repositories to analyse.
CodeScene’s free plan lets you analyse open source projects. The paid plans also let you analyse private repositories as well as repositories that belong to an organization you’re a member of.
CodeScene also supports projects where the code is split across multiple repositories. In that case you just selects all those repositories and CodeScene will take care of the rest.
If you’re using Azure provider all the repositories selected must be from the same account.
Once you’ve selected the repository to analyse, CodeScene prompts you with the initial configuration as shown in Fig. 4.
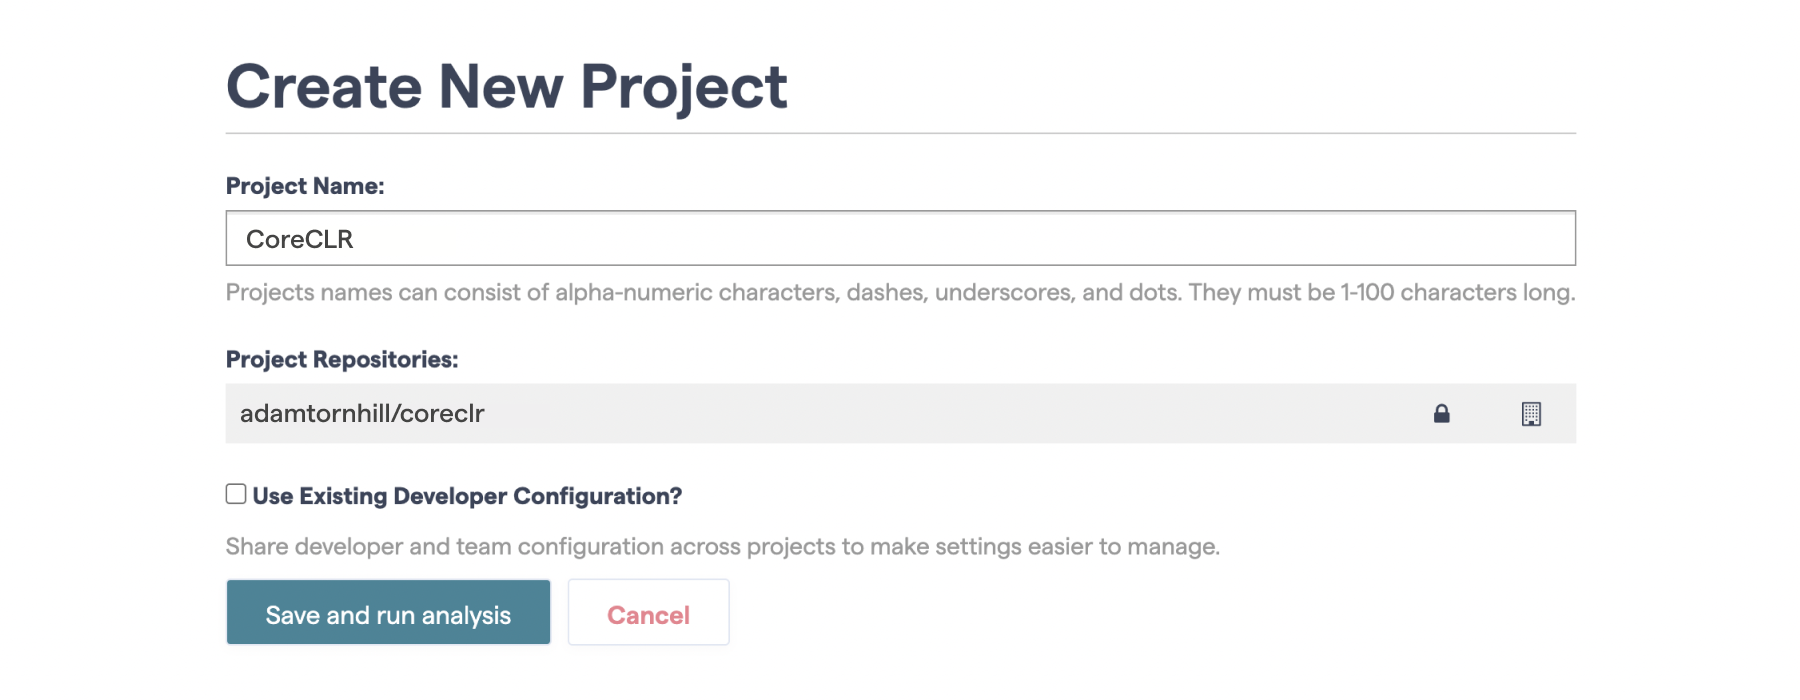
Fig. 4 Configure your analysis project
That’s it! No further setup is necessary. Just press the button in CodeScene to launch your first analysis. The analysis may take some time to complete so we recommend that you use that time to check-out our Focus Areas. They’ll make sure you get the most out of your analysis.
Set an automatic analysis schedule
If you’re on CodeScene’s paid plan you can enable automatic analysis runs on your project.
Open the project configuration page and go to Analysis Schedule tab shown in Fig. 5.

Fig. 5 Specify the content to exclude from your analysis.
You can choose an interval and click Save. An analysis will be run once every interval. The specific time within that interval will be shown to you.
It is recommended that you enable scheduled analyses for projects in active development.
A scheduled analysis will be skipped if you’ve recently manually triggered an analysis run.